If you have been watching the latest wave of AI video tools, you have probably noticed that the conversation is shifting. It is no longer just about making a moving clip from a prompt. Creators now want more control, cleaner motion, better camera language, and results that feel usable instead of random. That is why PixVerse V6 is getting so much attention.
What makes this release interesting is not just the update itself. It is the way it pushes AI video toward a more creator-friendly workflow. Instead of treating generation like a lucky spin, it encourages you to think more like a director: What is the shot? What is the movement? What is the emotional beat? And what should the viewer feel in the first second?
For creators, that shift matters. Whether you are making short-form social content, product promos, mood pieces, or storyboard-style visuals, the appeal of the PixVerse AI video generator is that it feels closer to a real visual workflow than many earlier text-only systems.
What makes PixVerse V6 worth trying?
The simple answer is control. Recent updates around PixVerse V6 have focused on stronger camera movement, better character performance, more usable multi-shot output, and native audio support. In plain language, that means the videos can feel more directed and less like a slideshow that happened to move.
That is a big reason creators are interested in using an AI video generator like this one for more than experiments. If a tool can handle motion, atmosphere, and shot design more reliably, it becomes easier to turn a rough idea into something that looks intentional.
PixVerse V6 is especially appealing for three types of users. First, there are short-form creators who need quick, visually striking clips for Reels, TikTok, and Shorts. Second, there are marketers who want cinematic product or brand videos without building everything from scratch. Third, there are storytellers and visual thinkers who want to test scenes fast before moving into a bigger edit.
The easiest way to prompt PixVerse V6
A lot of people overcomplicate prompting. They try to write an entire screenplay inside one generation, then wonder why the result feels chaotic. The better approach is much simpler.
Think of your prompt in five layers.
1. Start with the subject
Who or what is on screen? Be concrete. “A woman” is fine, but “a young woman in a yellow raincoat” is much easier for the model to visualize.
2. Add the action
What is happening in the shot? Walking, turning, opening a door, looking over a shoulder, placing a product on a table—keep it clear.
3. Define the camera
This is where many prompts get stronger. Tell the model how the shot should feel: close-up, wide shot, slow dolly in, handheld, overhead, orbit, push-in, tracking shot.
4. Set the atmosphere
Lighting, weather, mood, reflections, smoke, crowd motion, neon, warm sunlight, soft shadows—these details give the video emotional texture.
5. Choose the final feel
Do you want it to look cinematic, realistic, dreamy, premium, glossy, gritty, or documentary-like? This final layer helps shape the output style without carrying the whole prompt by itself.
That is why a text-to-video workflow works best when it feels directed rather than overloaded. The model needs a clear visual job, not a wall of disconnected ideas.
A detailed PixVerse V6 prompt example
Here is a practical prompt example that shows how a creator can combine subject, action, camera, and mood into one usable shot:
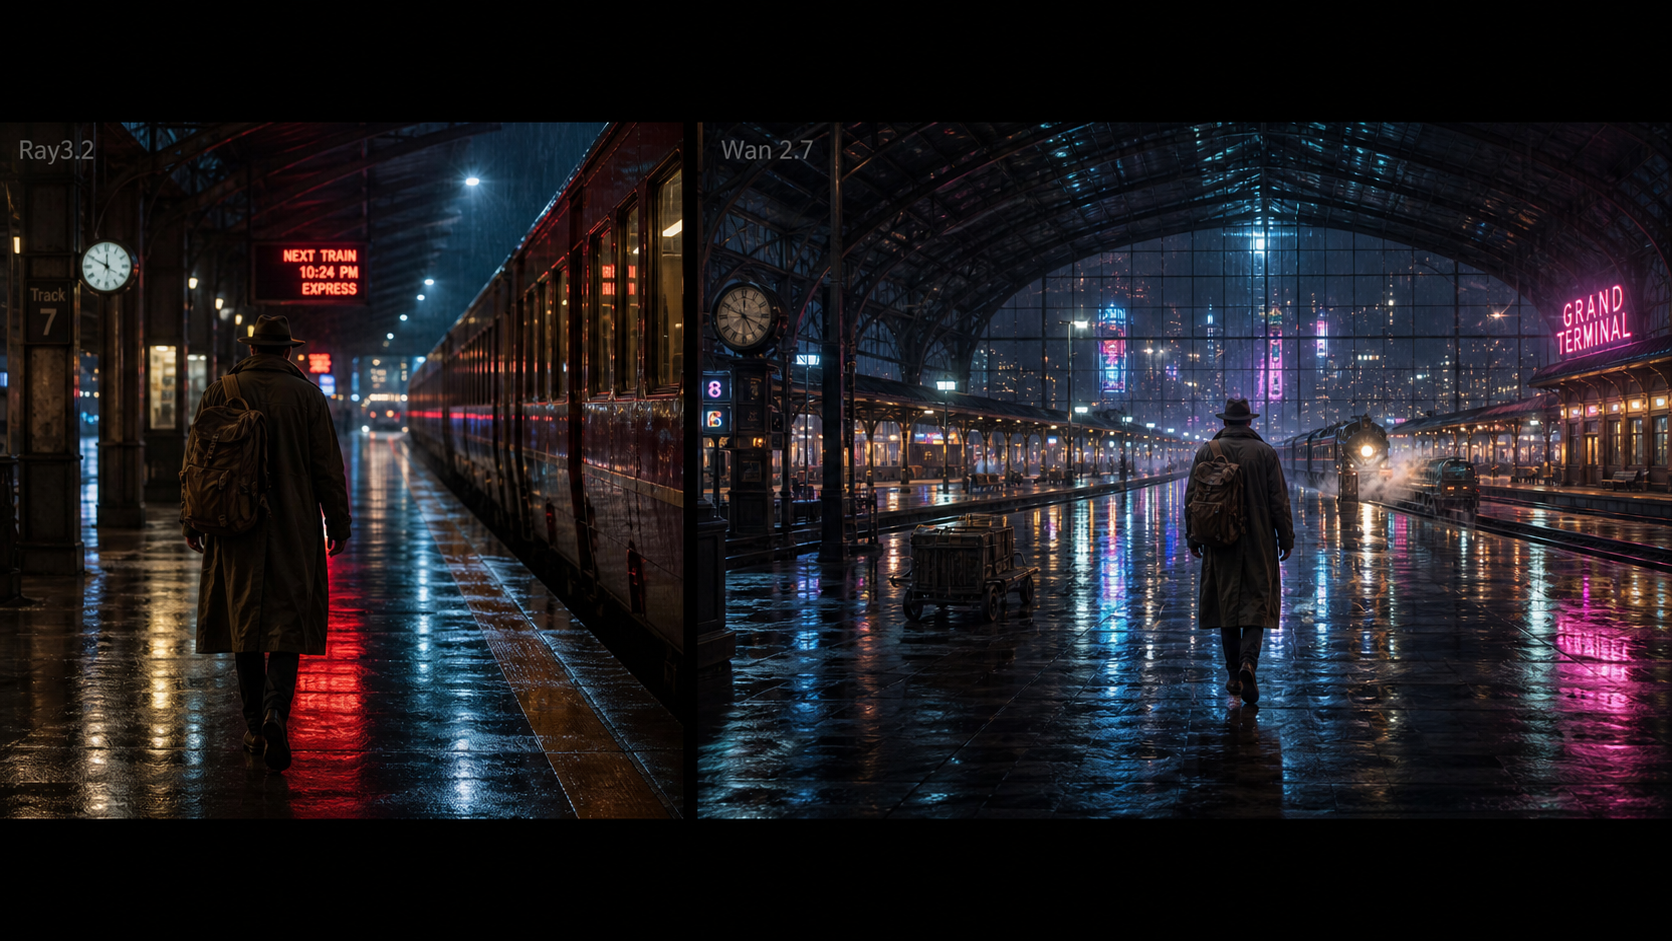
A cinematic night market after rain, a young woman in a yellow raincoat walks slowly through glowing neon food stalls, steam rising from street grills, wet pavement reflecting pink and blue lights, the camera starts in a medium close-up and slowly dollies backward as she looks around with quiet wonder, background vendors move naturally, subtle crowd motion, soft handheld realism, rich atmospheric depth, natural facial expression, native ambient street sound, highly detailed, emotional, filmic lighting
Why does this work so well?
Because it is specific in the right places. The subject is clear. The action is simple. The camera move is focused. The environment is alive. And the emotional tone is built into the visual details instead of being dumped into vague words like “epic” or “beautiful.”
Now compare that to a weaker version:
woman walking in a market, cinematic, neon, cool vibes
That second prompt is not unusable, but it gives the model very little guidance. The first one gives the scene structure. That is the difference between hoping for a good result and steering toward one.
Prompt formulas for different creator goals
The best part about PixVerse V6 is that once you understand the logic, you can reuse it across different projects.
For short-form social clips
Use one strong subject, one action, and one camera move. Keep the image readable in the first second. Visual contrast matters more than complexity.
Example formula: subject + action + camera move + lighting + mood + platform feel
For product promos
Focus on the hero object, the surface details, and the movement around it. Premium-looking results usually come from simple motion and careful lighting language.
Example formula: product + close-up detail + slow camera motion + luxury lighting + clean background + ad-style finish
For story-driven scenes
Build around a single emotional beat. Instead of trying to tell the whole story, generate one moment that implies a larger narrative.
Example formula: character + emotional state + location + small action + camera rhythm + atmosphere
If you already have a strong reference frame, an image-to-video workflow can be even more useful because it gives the model a visual anchor before motion is added.
The mistakes that usually waste credits
Most weak generations come from the same few problems.
The first mistake is asking for too much at once. If your prompt contains six actions, three camera moves, two mood changes, and a whole mini-plot, the output often turns messy.
The second mistake is relying too heavily on style words. Words like “cinematic,” “viral,” or “beautiful” can help, but they are not substitutes for describing the actual shot.
The third mistake is ignoring environment motion. Rain, fog, reflections, smoke, leaves, crowd movement, cloth, and hair all make a clip feel more alive.
The fourth mistake is trying to force a complete video in one pass. In real creator workflows, it is usually smarter to generate several short, clean shots and then stitch them into something stronger.
That is where a photo-to-video tool can also be helpful. If your still image already captures the framing you want, adding motion to that image can feel more stable than starting from scratch every time.
A simple workflow that actually helps
Here is the practical way to use PixVerse V6 without wasting time.
Start with one scene idea, not ten. Write one prompt for one shot. Generate a first pass. Then do not rewrite everything. Change only one variable at a time: maybe the camera, maybe the lighting, maybe the subject’s action. That way you learn what is improving the result and what is making it worse.
Once you get a clip that feels close, build outward from there. Use a second shot for a cutaway, a third shot for a reaction, and a fourth shot for an ending beat. That method works better than endlessly chasing the perfect all-in-one generation.
This is the mindset shift that makes PixVerse AI video generator tools more useful. You stop treating the model like a slot machine and start treating it like a fast production partner.
Other DreamMachine AI tools worth trying
If your project needs more than standard text prompting, DreamMachine AI has a few other tools worth exploring.
The main text-to-video workflow is the most direct option when you want to start from an idea. The image-to-video workflow is better when you already have a frame or concept art that you want to animate. The broader AI video generator page is useful if you want a simpler entry point for moving from still visuals to short clips.
Beyond that, model-specific pages like Veo 3.1 or Luma Ray2 can be worth testing when your project needs a different motion style or a different balance between realism and polish. And if you are building complete content pieces instead of standalone clips, DreamMachine AI’s AI music generator can be a nice add-on for rough soundtrack ideas and fast concept packages.
Final thoughts
The biggest reason to pay attention to PixVerse V6 is not hype. It is usability. The more AI video tools mature, the more the real advantage comes from control, clarity, and workflow.
PixVerse V6 looks most impressive when you stop asking it for “something cool” and start asking it for a specific shot with a clear emotional and visual purpose. That is when the outputs start feeling less accidental and more intentional.
If you approach it like a creator instead of a prompt gambler, you will usually get better results.
Related Article
- How to Use DreamMachine AI’s AI Video Generator: A Practical Guide for Text and Image Workflows
- Seedance 2.0 Video Generation Guide: How to Create Better AI Videos
- Nano Banana 2 vs Nano Banana Pro: What Changed and Which One Fits Your Workflow?
People Also Read
- How to Use HeyDream AI’s Text-to-Video Generator: Model Comparison, Prompting Tips, and Workflows
- PixVerse V6 Is Here: What’s New, What Improved, and What to Try Next
- SeaImagine AI Text-to-Video Guide: How to Choose Models and Create Better Clips
- Higgsfield Motion Control Explained: A Smarter Way to Create Controlled AI Videos