If you want a simple way to turn ideas, photos, and visual concepts into short clips, DreamMachine AI offers a clean starting point. Its AI video generator is built for both prompt-based creation and image-based animation, so you can either describe a scene from scratch or upload a still image and turn it into motion.
This guide walks through the tool in a beginner-friendly way. It also explains how to use it as an image-to-video AI tool, how to make better prompts, and how to use free credits more strategically when testing ideas.
Why This Tool Is Easy for Beginners
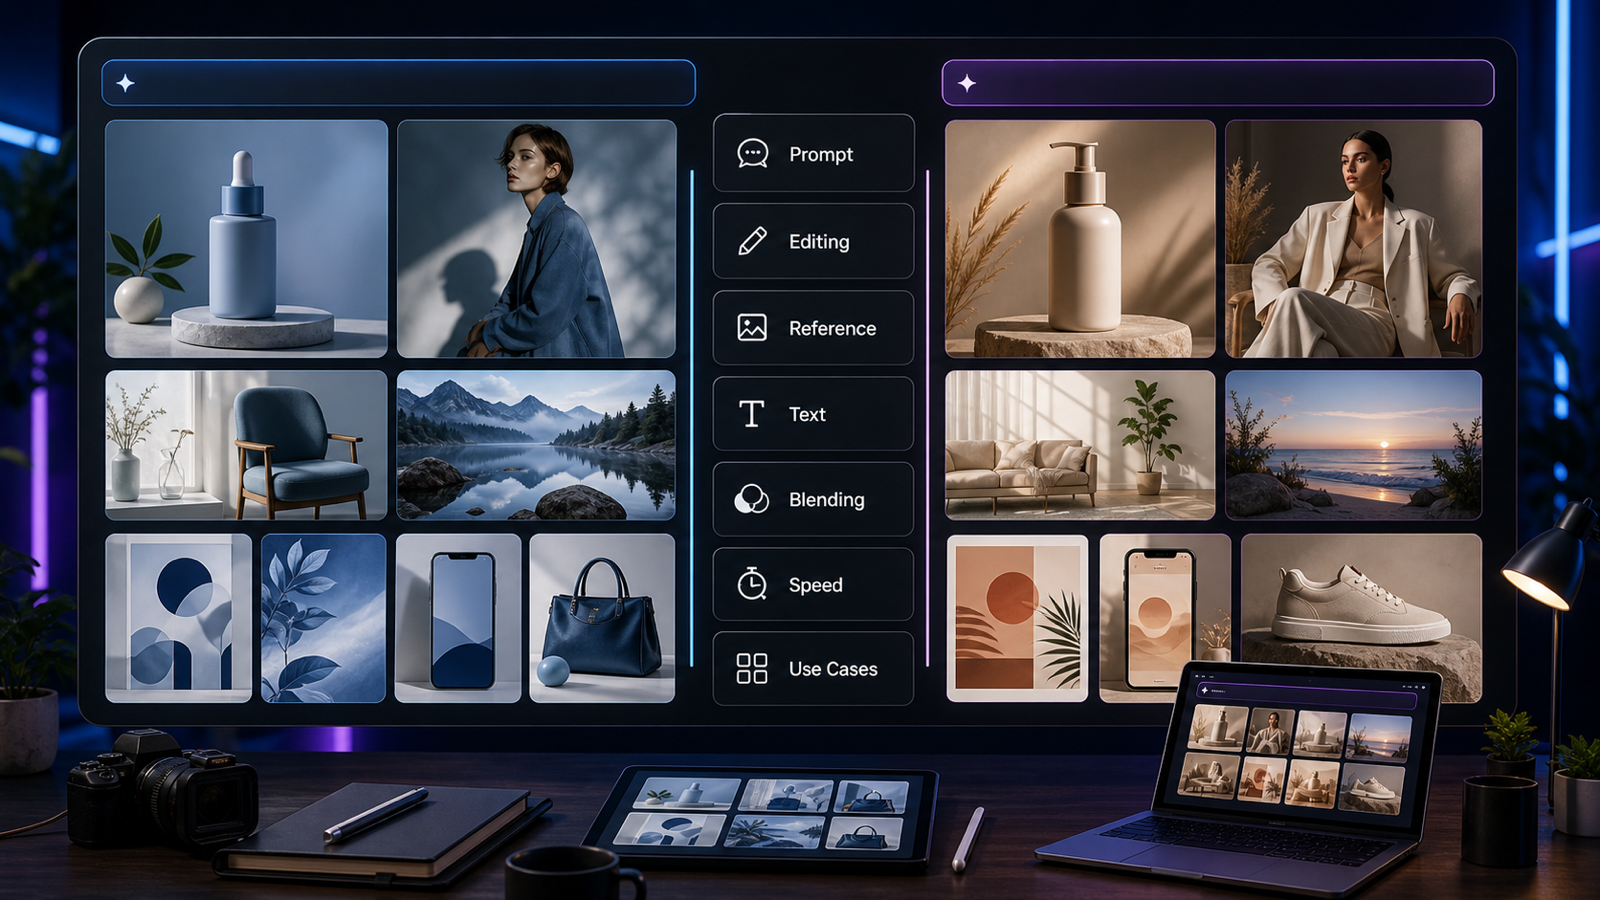
One reason this page is approachable is that it keeps the workflow visible on a single screen. You can upload a Start Frame, optionally add an End Frame, write your video prompt, choose a model, set the aspect ratio, and generate without jumping through too many menus.
That makes it useful for several types of users:
- creators making short visual content
- marketers building ad concepts
- artists testing scene motion
- social media users creating vertical clips
- beginners exploring an AI video generator for the first time
The tool is also flexible because it supports both text-to-video and image-to-video creation. If you already have a strong image, you can animate it. If you only have an idea, you can build a video from prompt alone.
Is It a Free AI Video Generator?
For many users, the first question is cost. This platform is often presented as an AI video generator free option for getting started because it provides free credits through account activity such as daily check-in. In practical terms, that means you can test prompts, explore different settings, and learn the workflow before committing to heavier use.
The smartest way to use a free AI video generator is not to spend credits on complex prompts immediately. Start with a simple subject, one motion idea, and one aspect ratio. Once the output is close to what you want, refine it.
Free credits are best used for:
- first-time prompt testing
- camera motion experiments
- portrait animation trials
- quick concept validation
- comparing one model against another
Because credit policies can change over time, it is always wise to check the current balance and generation cost on the page before you start a larger batch.
Understanding the Interface
Before generating anything, it helps to understand what each part of the page does.
Start Frame
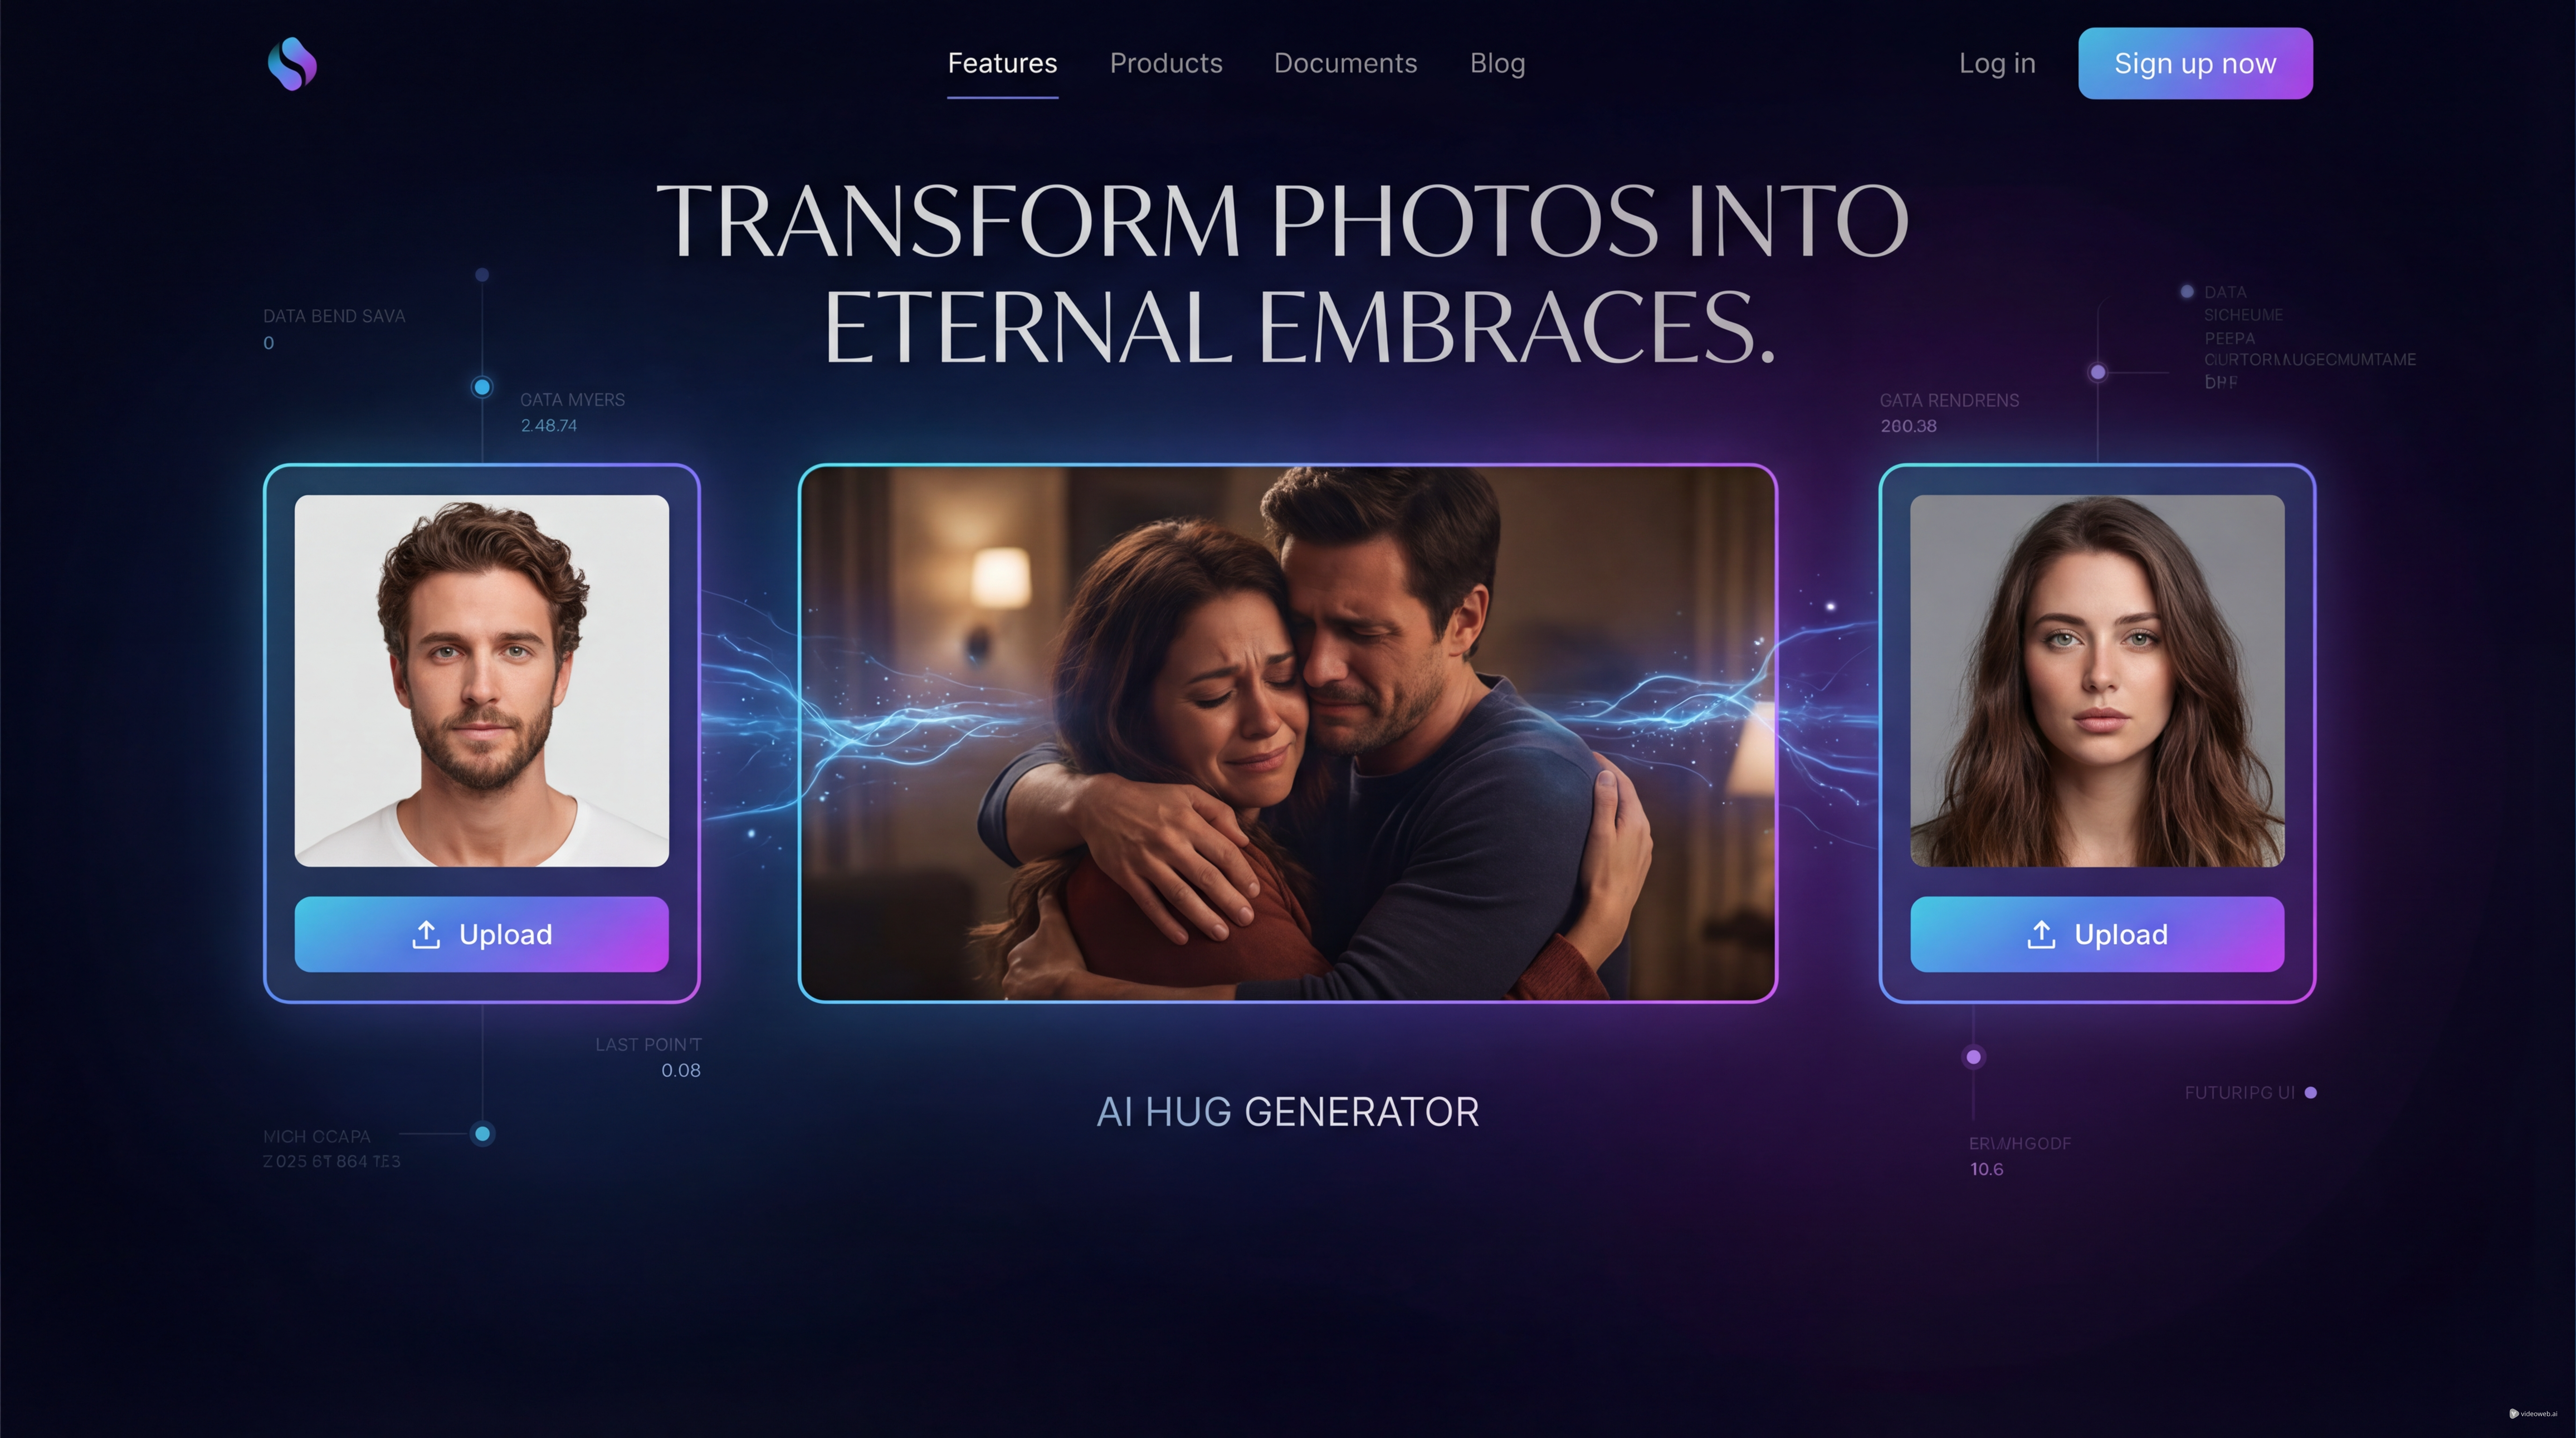
This is where you upload the image that will act as the first shot of your video. If you are using the tool as an image-to-video AI generator, this is one of the most important inputs.
End Frame
This optional field gives the system a second visual target. It can help shape the motion more clearly, especially for transitions, transformations, and before-and-after storytelling.
Video Prompt
This text box tells the model what should happen. You can describe movement, camera direction, atmosphere, style, subject behavior, and pacing.
Optimize Prompt
This feature is useful if your wording feels too basic. It can help turn a short idea into a more structured video prompt.
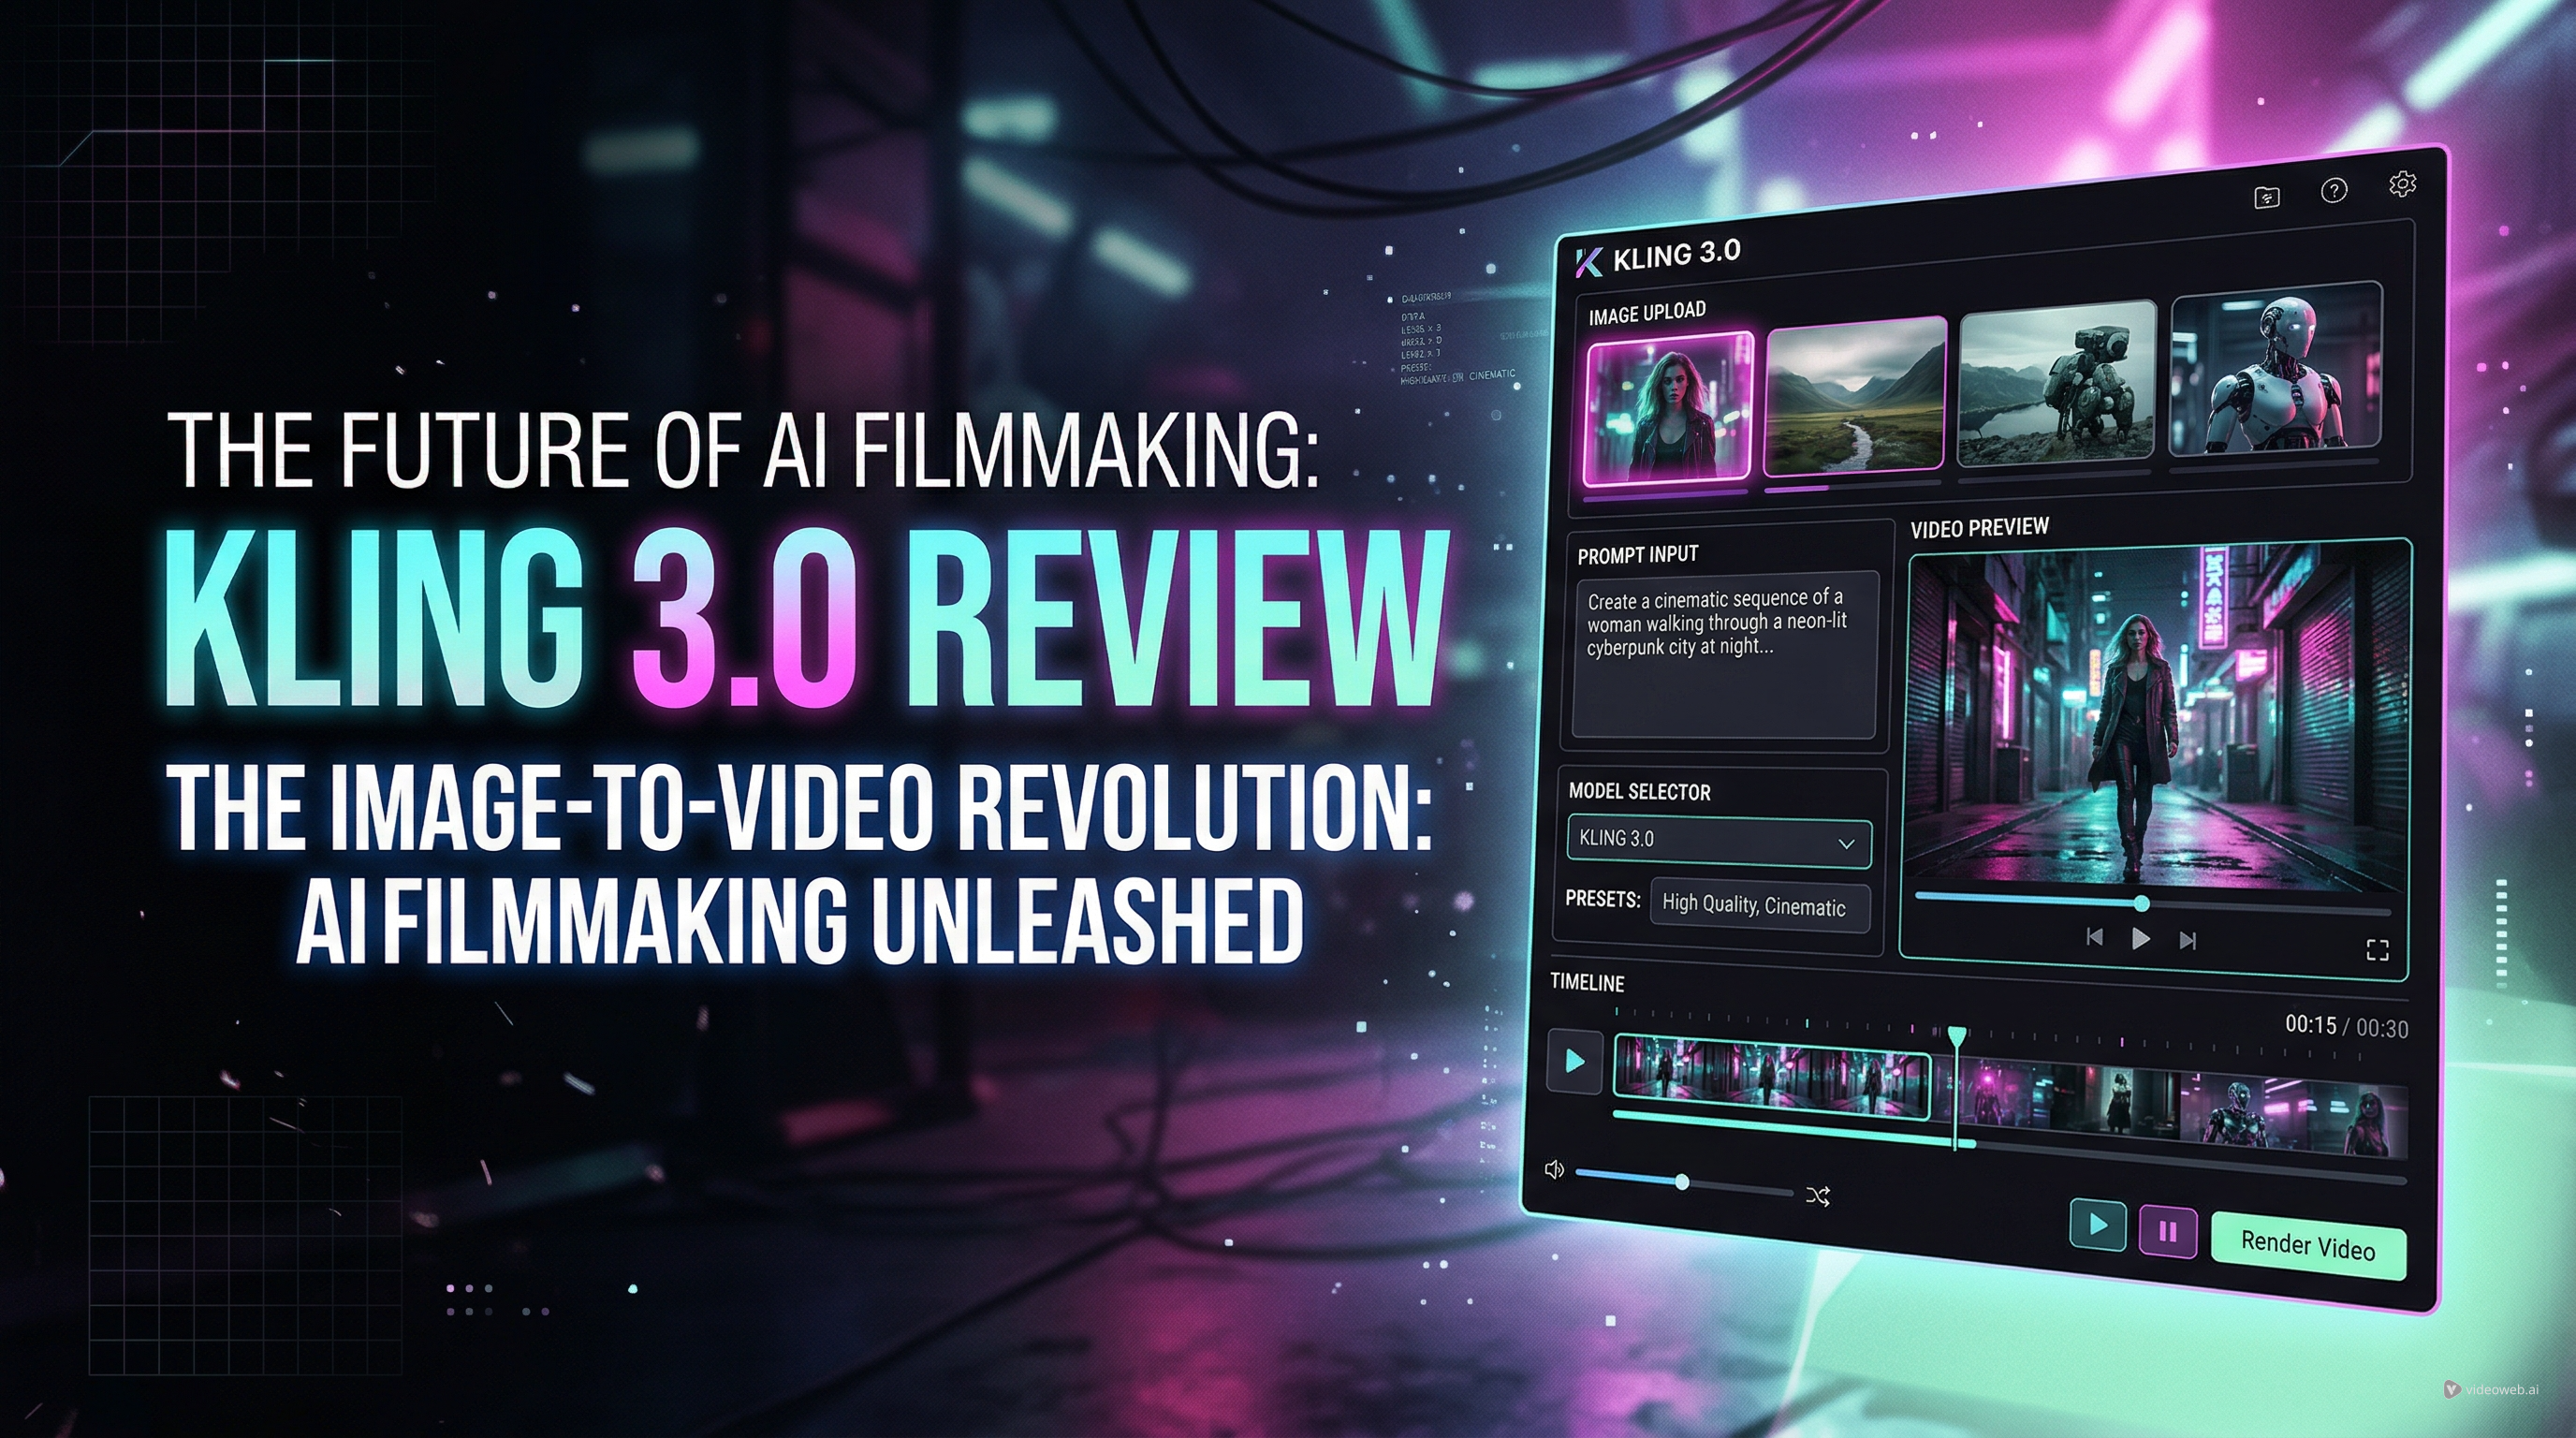
Model Selector
The generator may offer several models, each with its own balance of speed and quality. Beginners should usually pick one fast, general-purpose option first and only compare models after they understand the basic prompt workflow.
Aspect Ratio and Audio
Aspect ratio matters because it changes where your clip fits best. A vertical frame is better for short-form social content, while widescreen works better for landscape scenes and standard video layouts. Audio settings should only be enabled when they support your actual use case.
Step-by-Step: How to Use the AI Video Generator
Step 1: Open the Generator Page
Go to the AI video generator page and sign in if needed. Look over the main controls before uploading anything.
Step 2: Choose Your Workflow
Decide whether you want to create from text or use an image-to-video workflow. If you already have a strong image, that usually gives you more visual control. If not, text-to-video is faster for concept testing.
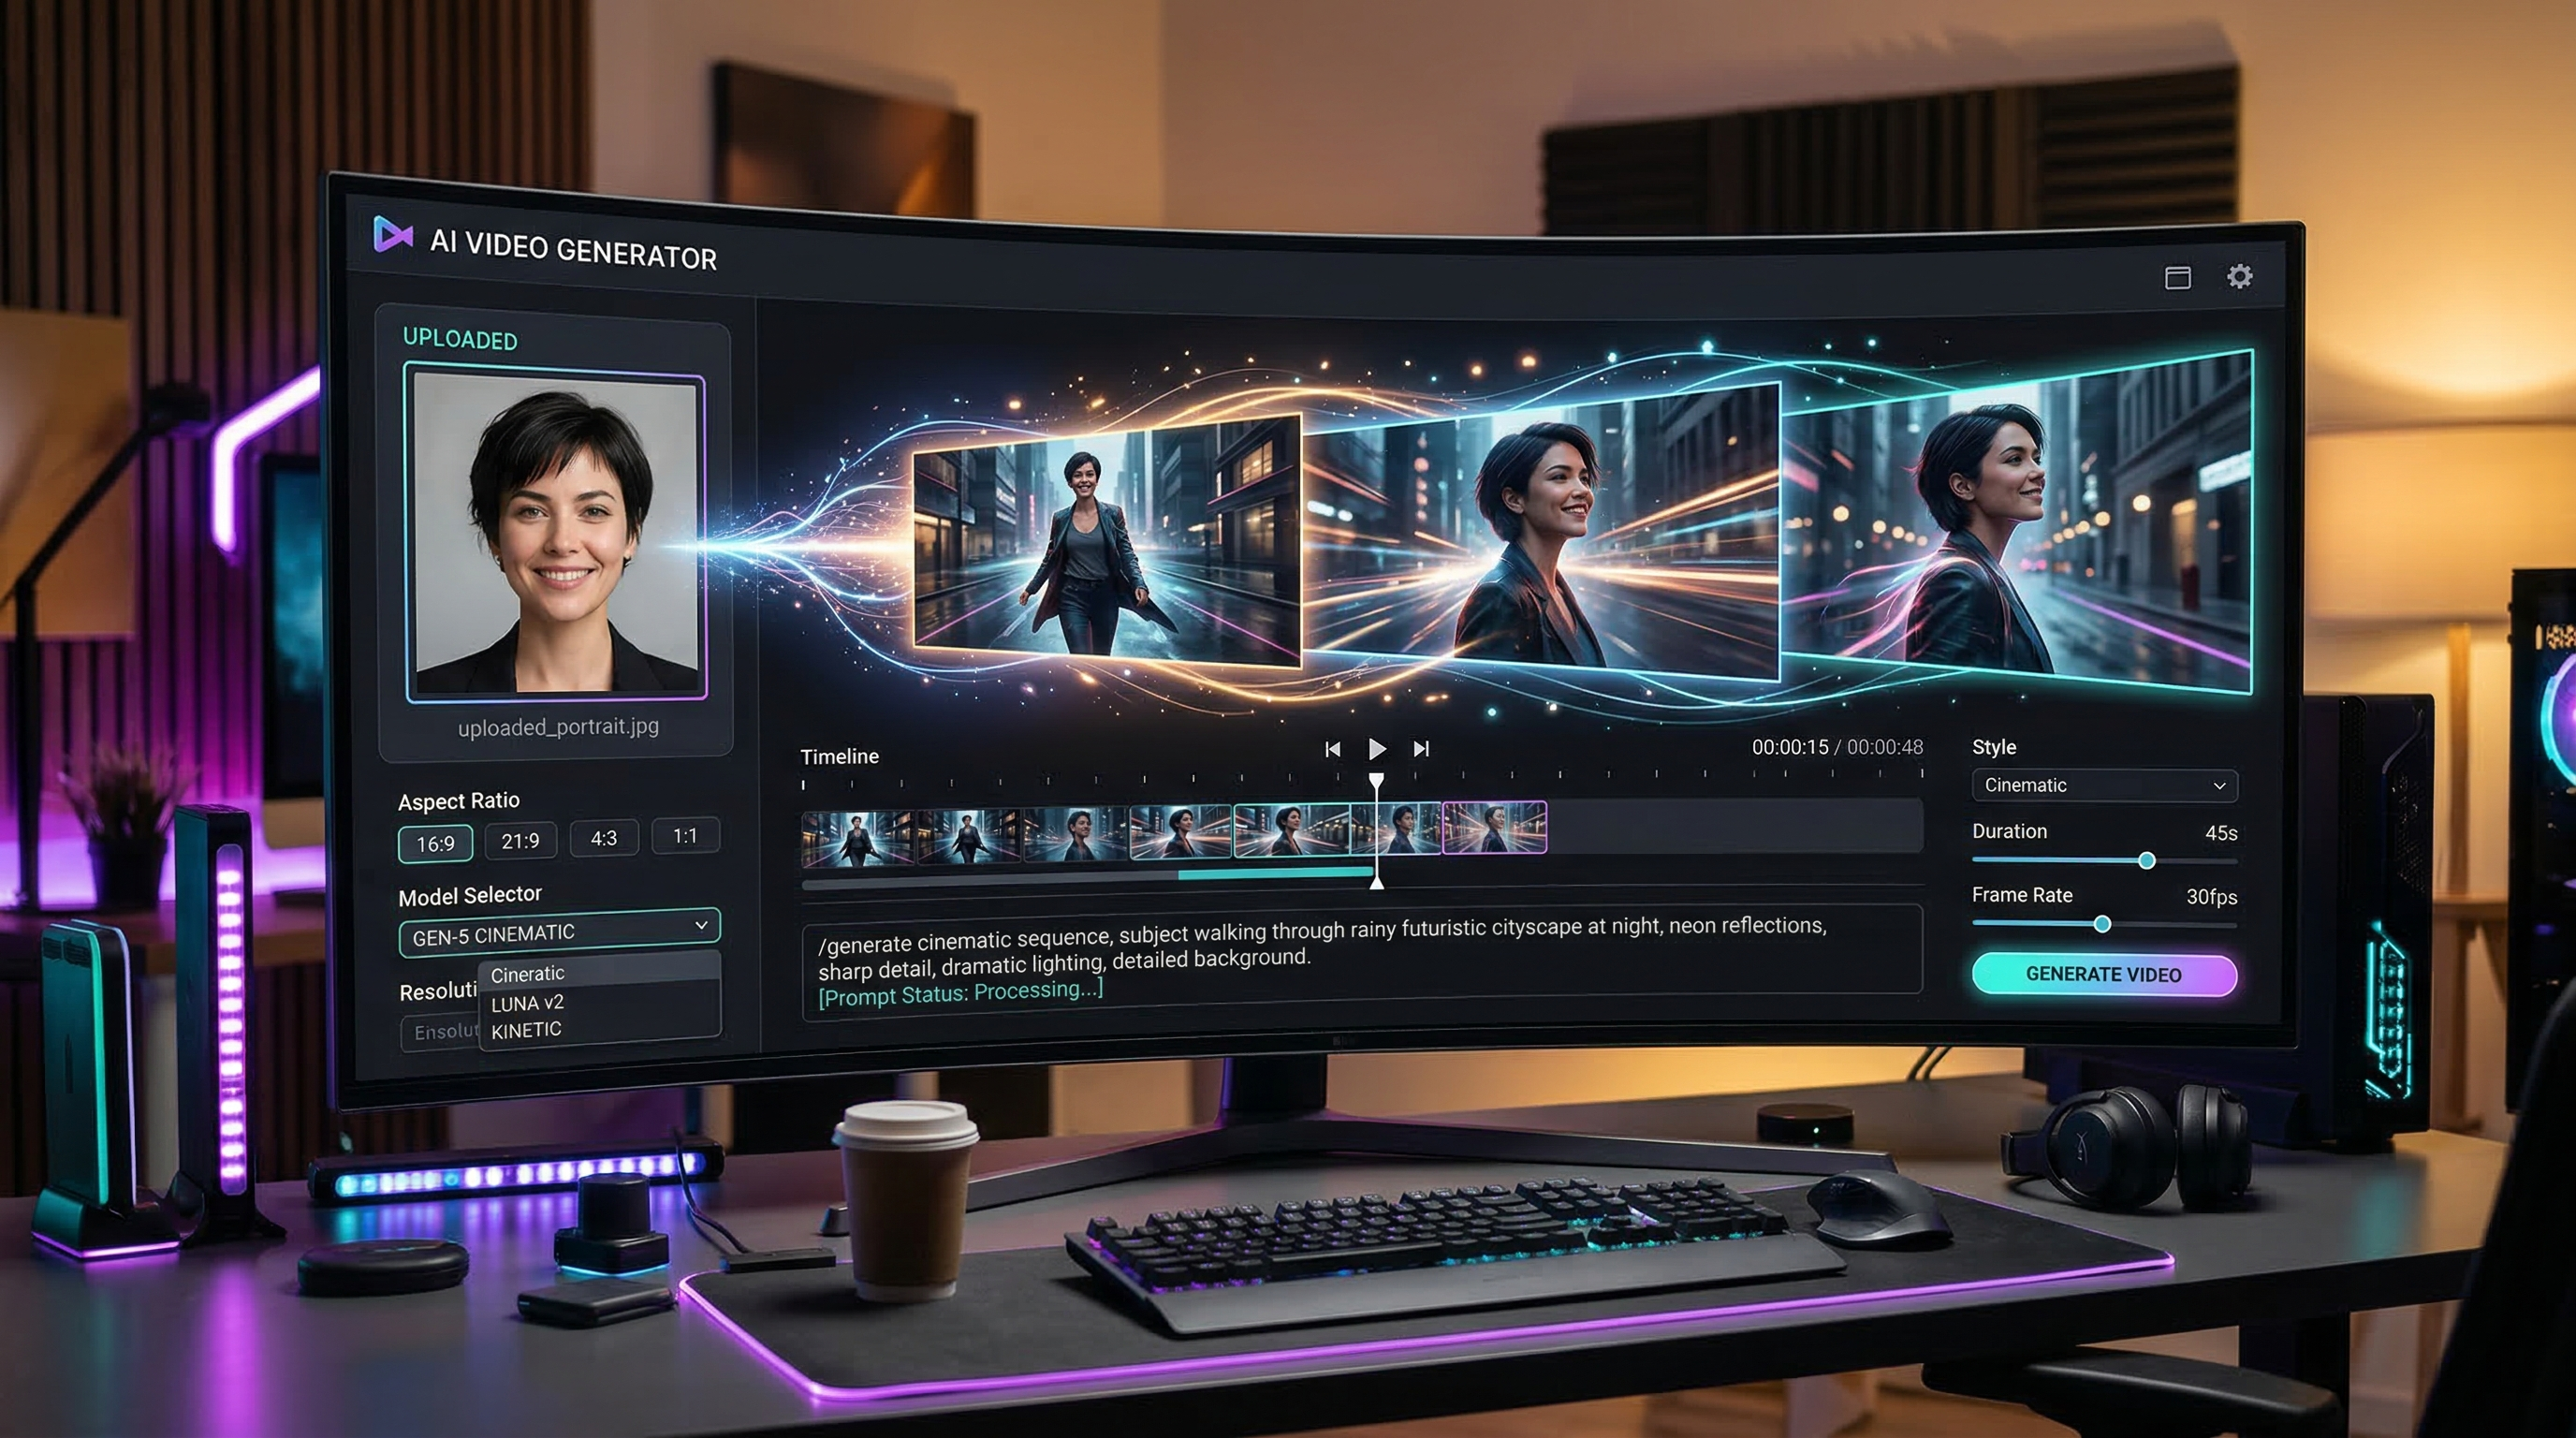
Step 3: Add a Start Frame
Upload a clear image if you want to animate a subject, scene, product, or portrait. The best images usually have one obvious focal point, clean lighting, and a composition that already looks cinematic.
Step 4: Add an End Frame if Needed
Use an End Frame when the video should move toward a specific result. For example, a person turns toward the camera, a city changes from day to night, or a product shot ends in a branded close-up.
Step 5: Write a Motion-Focused Prompt
Do not just describe what the subject looks like. Describe what happens. Good prompts usually include:
- the subject
- the setting
- the motion
- the camera movement
- the mood or lighting
For example: “A young woman standing on a neon-lit street at night, hair moving in the wind, the camera slowly pushing in, cinematic lighting, realistic motion.”
Step 6: Use Optimize Prompt If Necessary
If your prompt is too short or vague, optimize it. This is especially helpful for beginners who know the scene they want but are unsure how to phrase the motion.
Step 7: Choose a Model and Ratio
Pick one model and one aspect ratio. Do not change too many settings at once. That makes it easier to understand what caused a better or worse result.
Step 8: Generate and Review
Run the job and examine the result closely. Look at subject consistency, camera movement, pacing, and whether the motion matches your intent.
Step 9: Refine Instead of Restarting Blindly
Most good results come from iteration. Change one thing at a time: either the prompt, the image, the model, or the framing.
How to Use It as an Image-to-Video AI Tool
If you already have artwork, photography, character portraits, fashion images, or product shots, this image-to-video AI workflow is often the best place to start.
The key is to think in terms of subtle motion, not total reinvention. The best outputs usually preserve the original subject while adding believable life.
Good use cases include:
- portrait animation
- product showcase clips
- landscape motion scenes
- fashion previews
- concept art visualization
- travel image enhancement
To improve results, use images with:
- one clear subject
- clean contrast
- minimal visual clutter
- stable framing
- strong lighting direction
When animating a still image, ask for specific but restrained movement. Good examples include gentle head turns, slow wind motion, soft camera push-ins, light environmental movement, or a gradual reveal. Overly aggressive motion can distort faces, objects, and clothing.
If realism matters, add instructions like “maintain facial identity,” “keep outfit unchanged,” or “subtle natural motion only.”
How to Use It for Prompt-Only Video Creation
Text-to-video is useful when you do not have a source image and want to explore ideas quickly. In that case, the AI video generator becomes more of a concept engine.
A strong prompt-only structure is:
subject + setting + action + camera + mood
Here are a few simple examples:
- “A futuristic train moving through a rainy cyberpunk city, cinematic tracking shot, dramatic reflections, realistic atmosphere.”
- “A golden retriever running through a sunlit field, slow-motion grass movement, warm natural light, joyful mood.”
- “A luxury perfume bottle on black glass, soft mist drifting around it, rotating camera, elegant studio lighting.”
The clearer the motion and camera direction, the better the result usually becomes.
Prompt Tips That Actually Help
When using an image-to-video tool or a text-only workflow, prompt quality matters more than prompt length. A better prompt is not always a longer one.
Use these habits:
- focus on one main action
- specify the camera gently
- describe lighting in plain language
- avoid conflicting actions
- keep style terms relevant
- remove details that do not affect the shot
Useful motion phrases include:
- slow push-in
- slight camera pan
- gentle dolly movement
- soft wind motion
- cinematic reveal
- natural facial movement
- subtle environmental motion
Common Mistakes to Avoid
Too Much Happening at Once
If your scene includes many actions, fast camera movement, and multiple style directions, the result can feel unstable. Simplify the idea.
Weak Source Images
For image-to-video AI results, the source image matters a lot. If the image is blurry, crowded, or poorly lit, the motion output often becomes less reliable.
Vague Prompts
“A cool cinematic video” is too broad. A good prompt gives the system something visual and actionable.
Changing Everything Between Attempts
If you swap the prompt, image, model, and aspect ratio all at once, you will not know what improved the result. Tweak one variable at a time.
Wasting Free Credits
If you are using the AI video generator free workflow through daily check-in credits, treat early generations as tests. Use short, controlled prompts before attempting polished outputs.
Best Beginner Workflow
If you are new, follow this order:
- Start with one clear image or one very simple prompt.
- Use only one main motion idea.
- Pick one fast model.
- Generate once and review carefully.
- Revise only the weakest part.
- Save your best structure for future prompts.
This approach helps you learn faster and stretch free credits further.
Final Thoughts
DreamMachine AI works well as a practical starting point for anyone who wants to explore both prompt-driven video and image-to-video creation. Its interface is straightforward, the generation flow is easy to understand, and the free-credit model makes experimentation more accessible.
For most users, the best path is simple: begin with a strong visual input, write a clear motion prompt, choose one model, and iterate carefully. Whether you use it as an AI video generator for concept scenes or as an image-to-video AI tool for still-image animation, the results improve quickly once you focus on clarity, restraint, and step-by-step refinement.
Related Articles
- Try Veo 3.1: A Practical Guide to Text-to-Video and Image-to-Video Creation
- Veo 3.1 vs Luma Ray2: Which AI Video Model Fits Your Workflow?
- Seedance 2.0 Video Generation Guide: How to Create Better AI Videos
- How to Use Dream Machine AI to Generate Videos